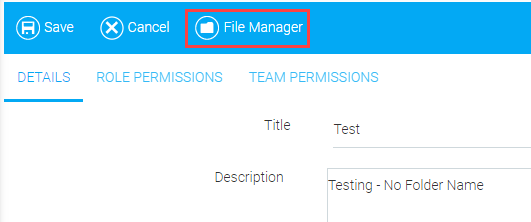
The file manager on the Maintain Document Libraries screen can be used to add files and folders to the a document library, which are then available to use in branding or to provide common reference materials. Materials specific to a course are best loaded to the course via the file manager on the Maintain Learning Resources screen.
To add files, go to Resources > Maintain Document Libraries, and create or edit a library.
On the library's toolbar, click the File Manager button.

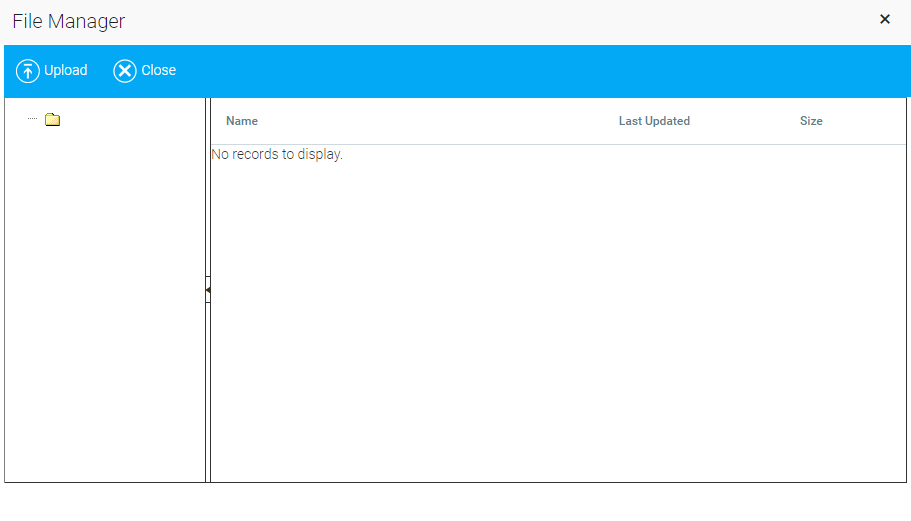
The File Manager pop-out box will appear.
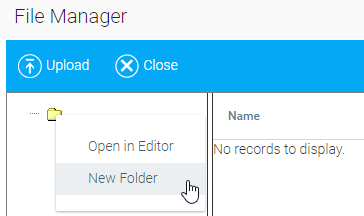
To create new sub-folders, right-click on the existing top folder and select New Folder.
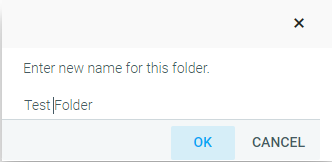
Type the name of the new folder in the text box and click OK.
The folder will appear in the tree in the left panel and also display details in the right panel.

On the File Manager screen, select the folder to which you wish to upload a file and click the Upload button in the toolbar.
The Upload a File screen will appear.
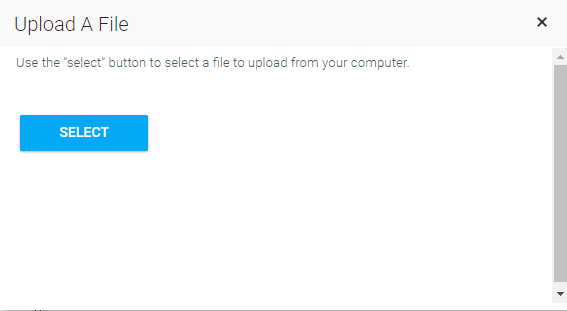
Click the Select button and navigate to the file on your hard drive or the network.
Once uploaded, the file will appear in the right panel.
Once the file is uploaded, you can open, delete, or rename it in the File Manager. To do so, right-click on the file.
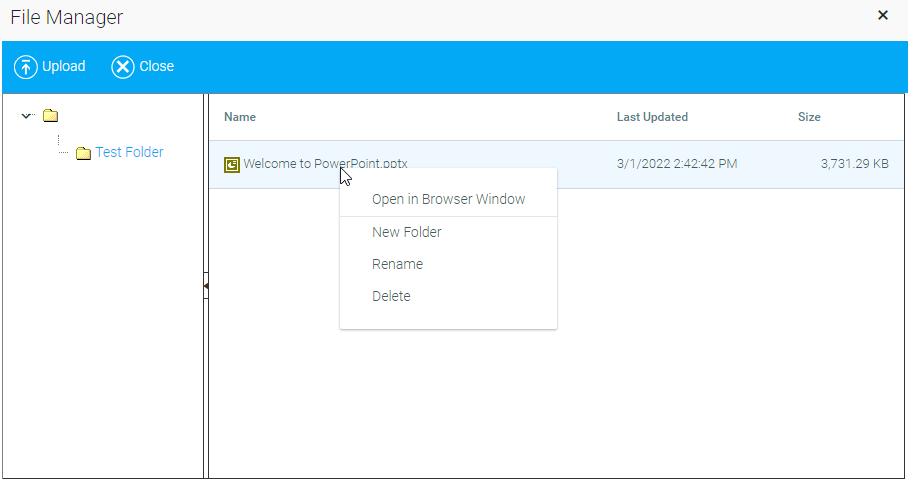
The context menu lets you:
The same actions can be taken on a folder. Right-click on the folder.
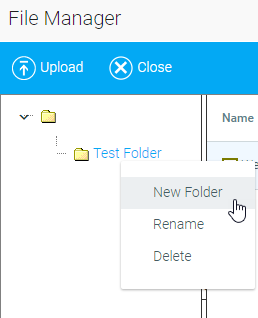
Context Menu Options include:
NOTE: This function only works in the left list panel.
In addition to access via the Maintain Document Library screen, users can browse the document library contents by clicking the Document Manager icon on the Rich Text Editor toolbar.